Применимость
| Модель | Двигатель | Год |
|---|---|---|
| C70 (06-) | — | 2006–2011A |
Примечание: Some steps in these installation instructions are presented with illustration only, the corresponding text section is then left empty.
Примечание: These installation instructions demonstrate the installation on a left-hand drive car. When installing on a right-hand drive car the operations are performed on the opposite side.
Примечание: The windscreen must have a temperature of at least 20°C (68°F) when the antenna is installed.
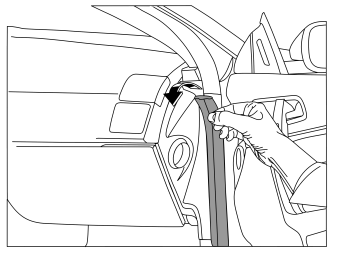
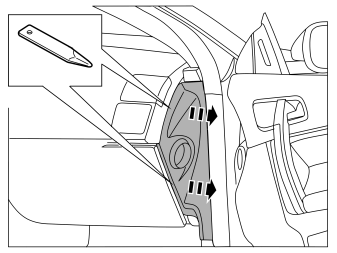
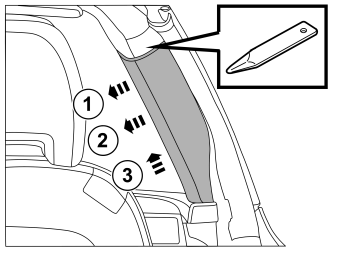
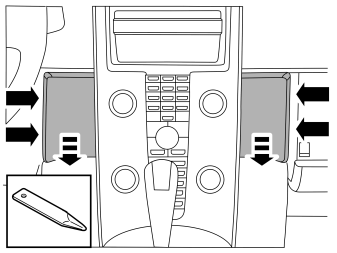
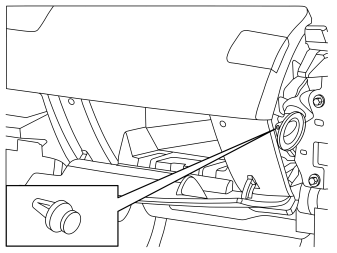
- Remove the clip.
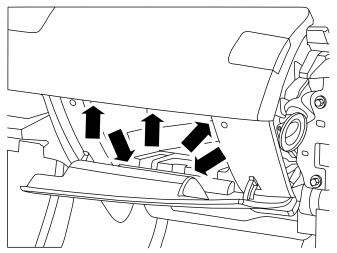
- Remove the rubber mat.
- Remove the screws, x 5.
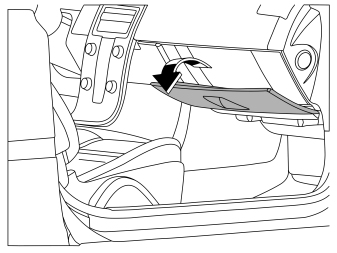
- Pull the glovebox straight back in the vehicle in order to release the hidden clips, x 2, in the top edge.
- Remove the rear section of the glovebox.
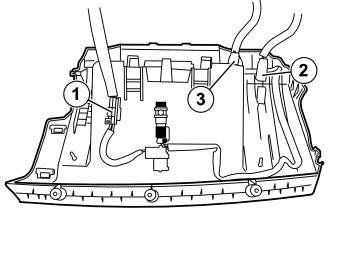
- Unplug the connectors.
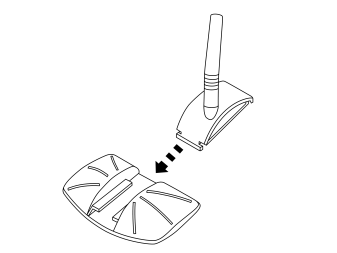
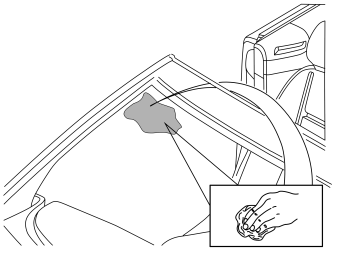
- Clean the windscreen on the inside and outside with a cleaning cloth.
Illustration A
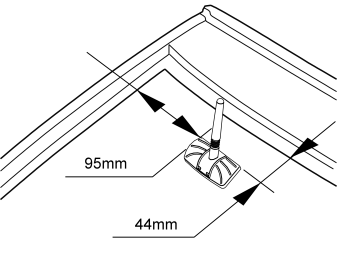
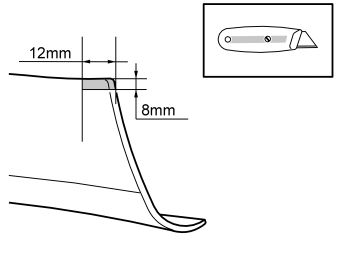
- Measure out where the antenna shall be located.
Illustration B
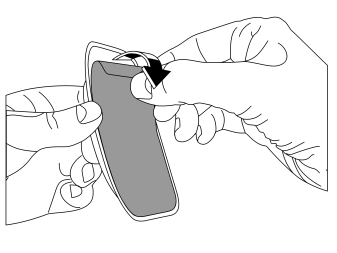
Illustration C
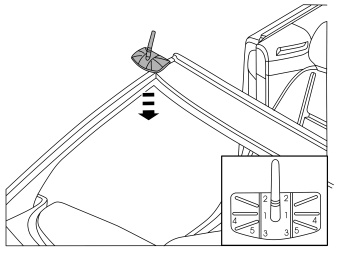
- Install the outer module.
Подсказка: For optimum adhesion, heat the glass using a hot-air gun or similar.
- Press hard for 3-4 seconds on points 1, 2, 3, 4 and 5 in sequence.
- Make sure that the tape seals tightly around the whole of the outer module.
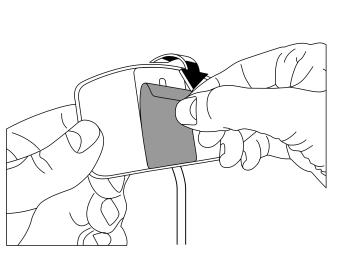
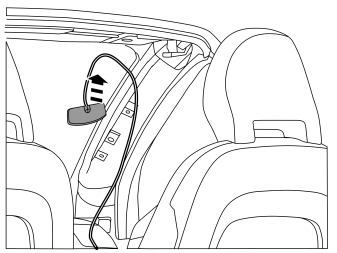
- Position the inner module horizontally on the inside of the windscreen so that it covers the outer module.
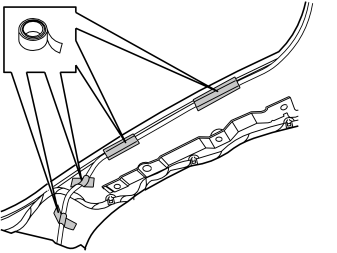
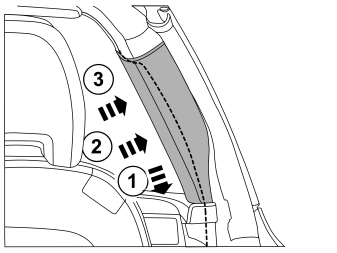
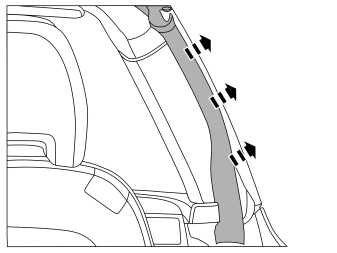
- Make sure that the sealing strip is on the outside of the panel.
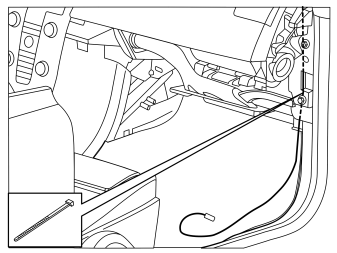
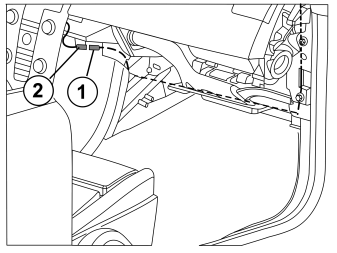
- Connect the antenna cable (1) to the cable (2) from the carphone holder.
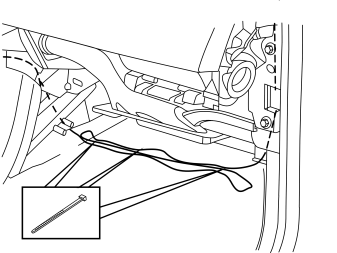
- Fold the antenna cable excess forward and back in long lengths by the air duct. Secure with three tie straps.
Примечание: The antenna cable excess must not be wound up into a bundle as this could cause interference.
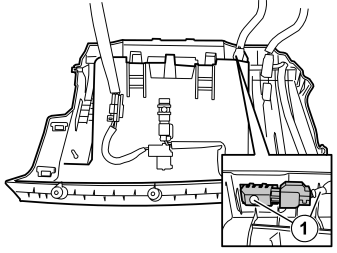
- Plug in the connectors.
Примечание: There are colour markings (1) on the front connector.
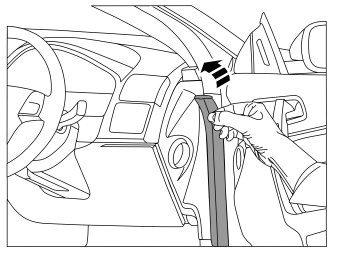
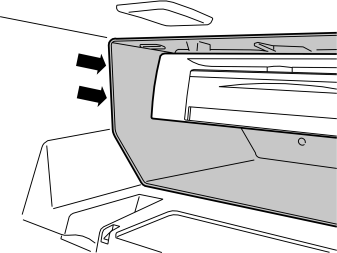
- Reinstall the rear section of the glovebox (marked grey) by guiding it in diagonally inside the centre console. The rear section must be positioned on the outside of the remaining inner section.
- Reinstall the clip at the air duct.
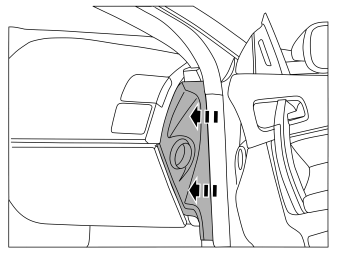
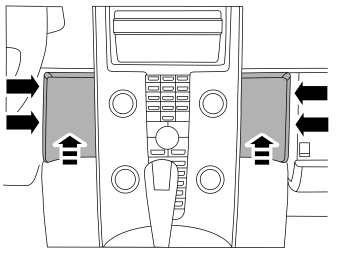
Примечание: Keep the vehicle indoors for two hours after completing the work. Do not wash the vehicle during the following 48 hours in order to achieve optimum adhesion.
Обсуждение и оценка
0Пока нет комментариев. Будьте первым.