Применимость
| Модель | Двигатель | Год |
|---|---|---|
| S60 (11-) | — | 2011–2015A |
| V60 | — | 2011–2015A |
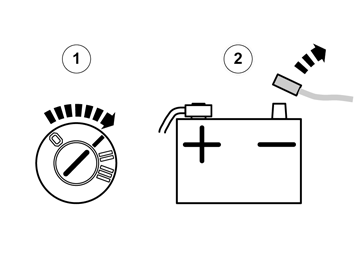
- Set the ignition switch to position I.
- Disconnect the battery negative lead.
Примечание: Wait at least three minutes before unplugging the connectors or removing other electrical equipment.
Примечание: The SRS system remains active for a brief period after power is disconnected. Thus, wait three minutes before starting work.
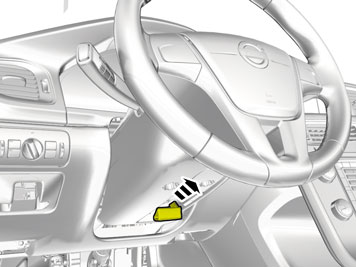
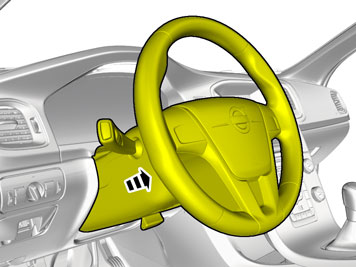
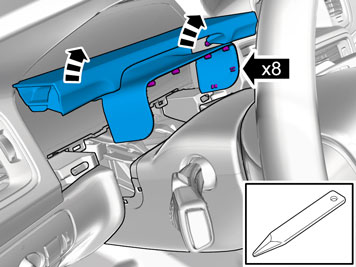
- Remove the panel.
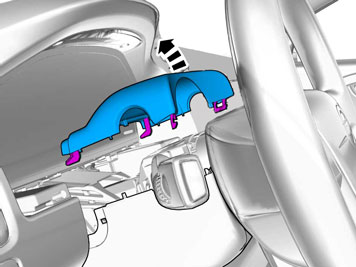
- Remove the panel.
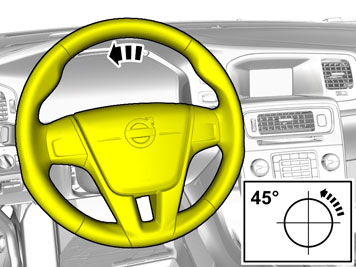
Removal
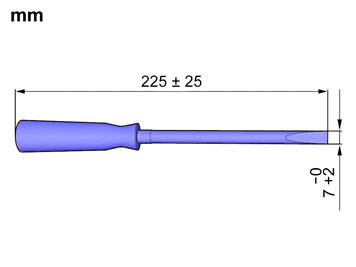
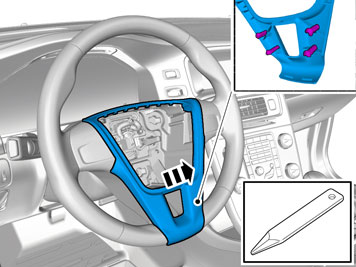
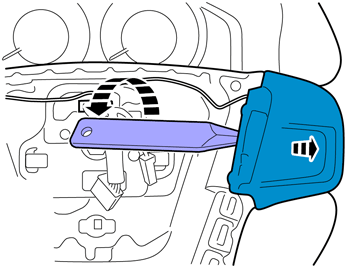
- Use a flathead screwdriver.
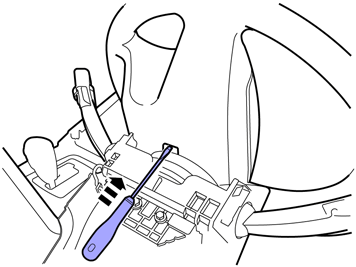
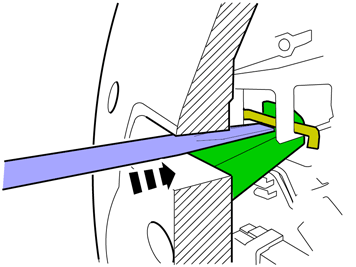
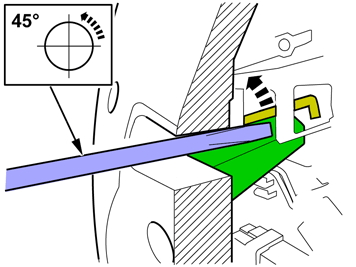
- Release the catch.
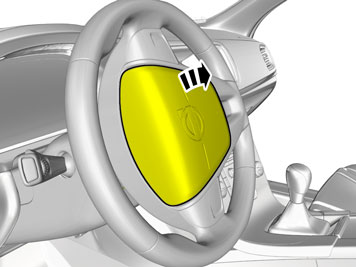
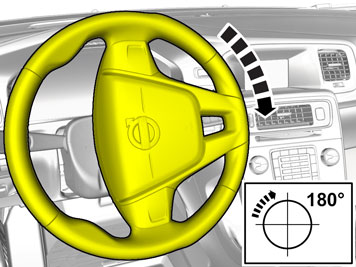
Repeat the method steps for removal on the opposite side
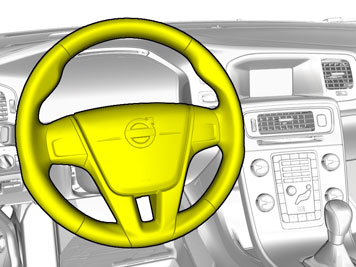
- Turn the steering wheel to neutral position.
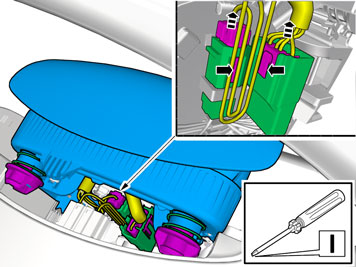
- Release the connector catches.
- Unplug the connectors.
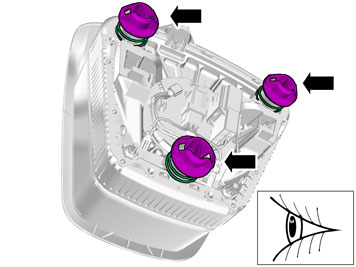
- Check that the holes are in place.
- Place the airbag module with the front side facing up on a safe storage area during work.
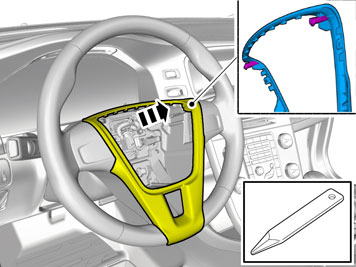
- A large amount of force is required for this procedure.
- A large amount of force is required for this procedure.
- A large amount of force is required for this procedure.
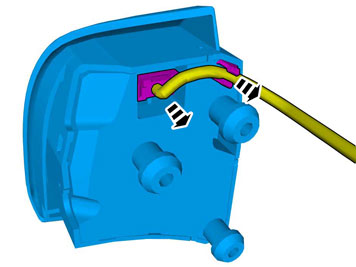
- Unplug the connector.
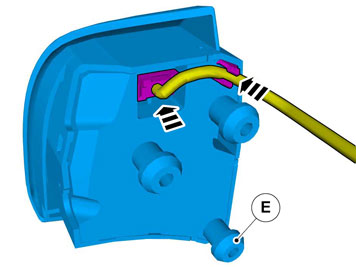
- Plug in the connector.
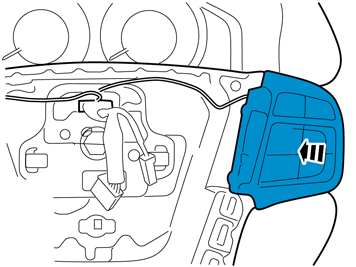
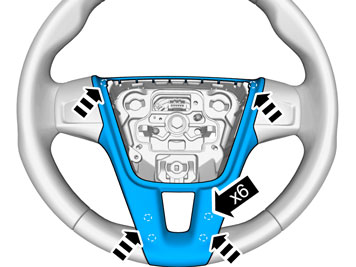
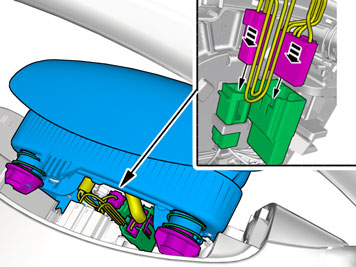
- Plug in the connectors.
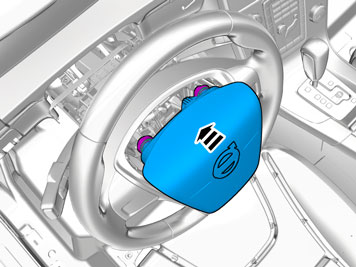
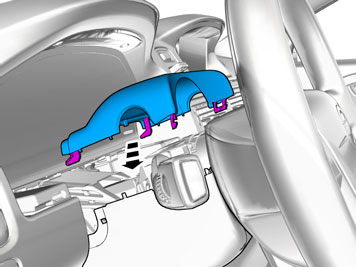
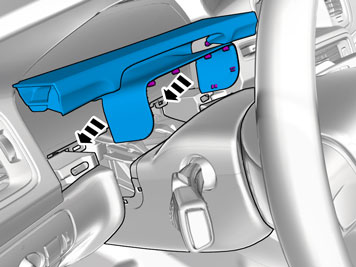
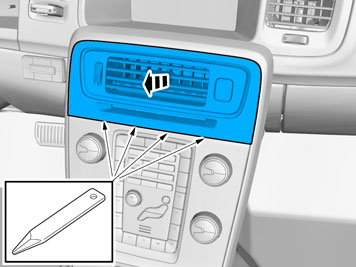
- Remove the panel.
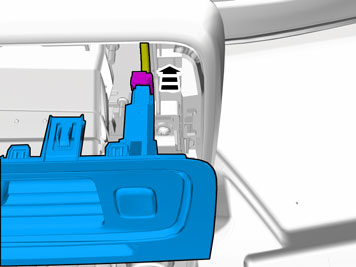
- Unplug the connector.
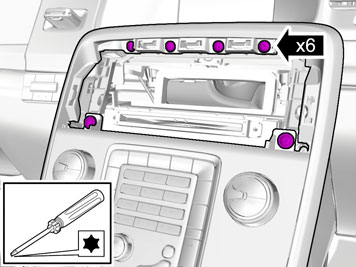
- Remove the screws.
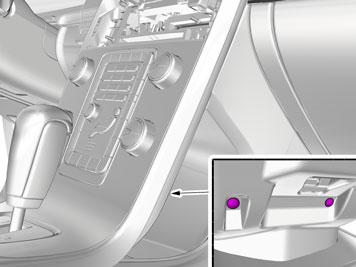
- Remove the screws.
Applies to cars with automatic transmission
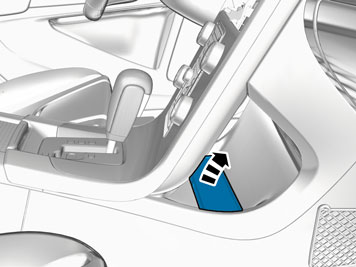
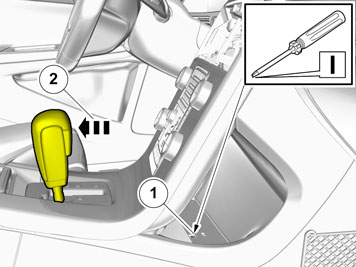
Applies to all vehicles
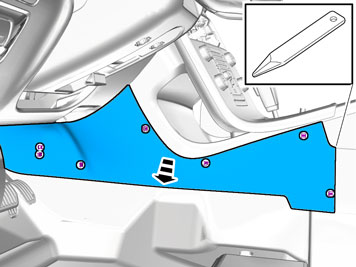
- Remove the panel.
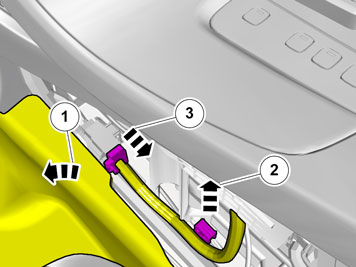
- Fold the carpet to one side.
- Unhook the clip(s).
- Unplug the connector.
Applies to vehicles with dynamic suspension
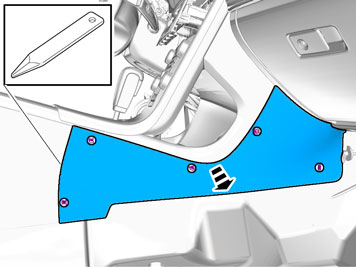
- Remove the panel.
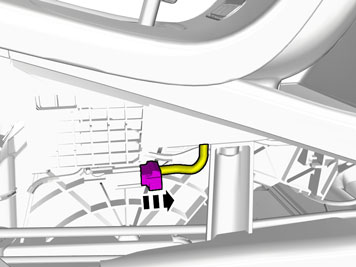
- Unplug the connector.
Applies to all vehicles
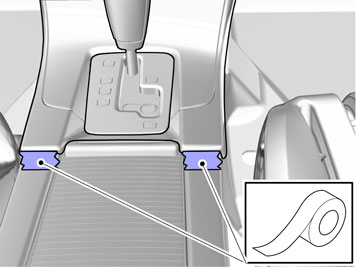
- Use suitable tape to protect the components.
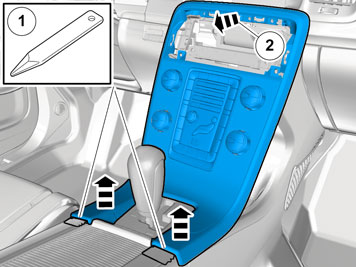
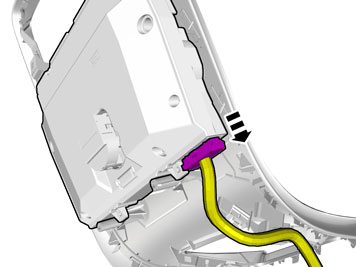
- Unplug the connector.
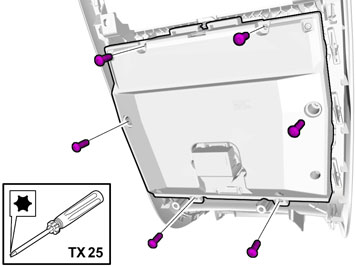
- Remove the screws.
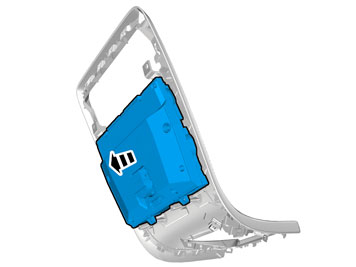
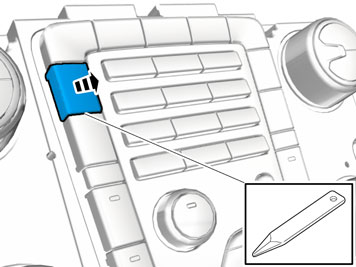
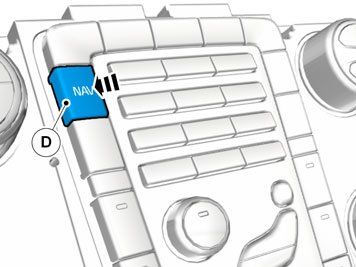
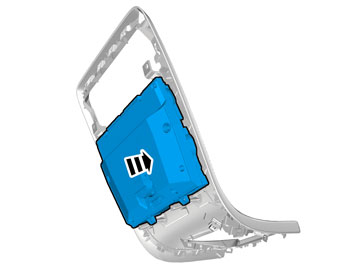
- Reinstall the screws.
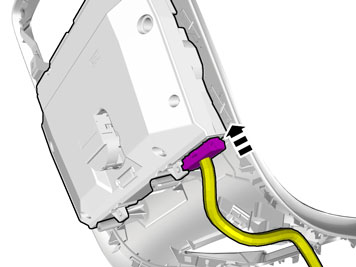
- Plug in the connector.
For all cars with 5" display
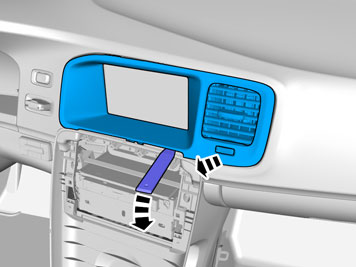
- Carefully pry off the panel at the lower edge and then all the way around.
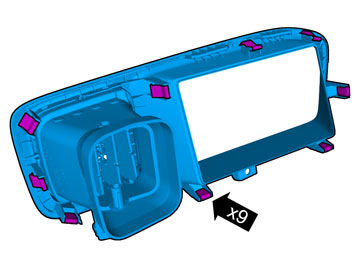
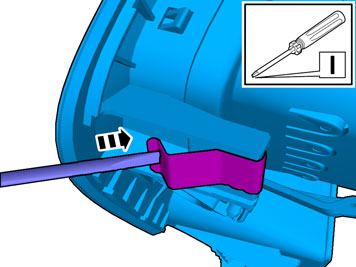
Use: Electrician's screwdriver
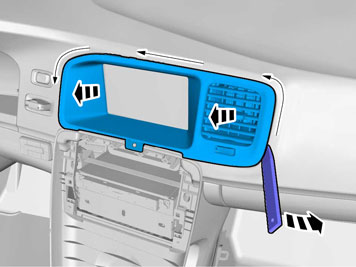
The panel must not be reused.
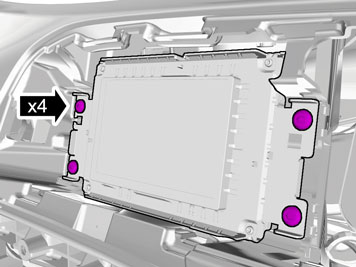
- Slacken off the screws.
- The screws will be reused.
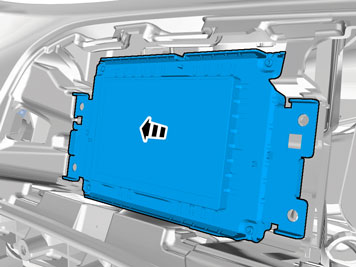
- The component(s) must not be reused.
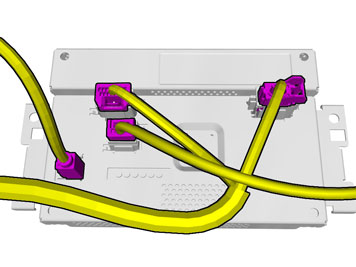
- Unplug the connectors.
- The appearance of the parts can vary depending on market.
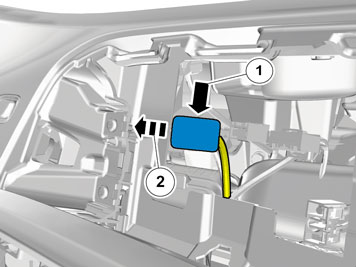
- Locate the prerouted connector.
- Remove the foam bag.
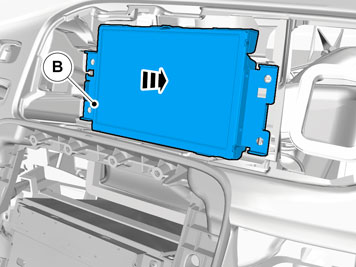
- Plug in the connectors.
- The number of conectors can vary depending on the vehicle's equipment level.
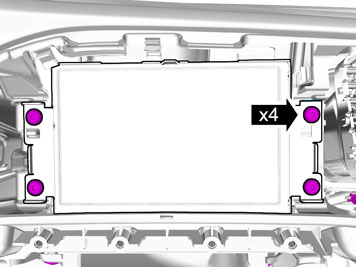
- Reinstall the screws.
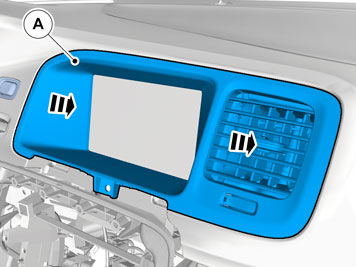
Applies to all vehicles
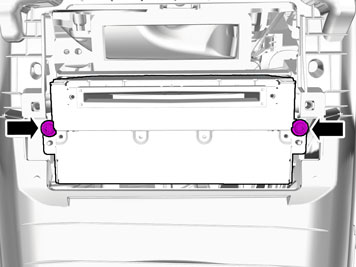
- Remove the screws.
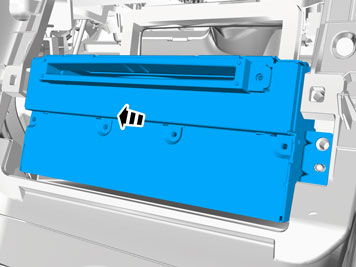
- The component(s) must not be reused.
- Disconnect the connector(s).
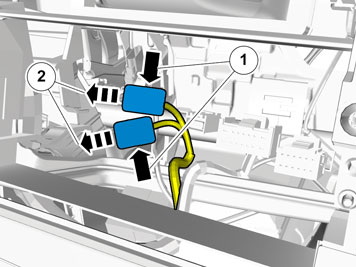
- Locate the prerouted connectors.
- Remove the foam bags.
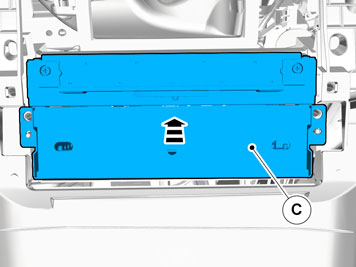
- Plug in the connectors.
- The number of conectors can vary depending on the vehicle's equipment level.
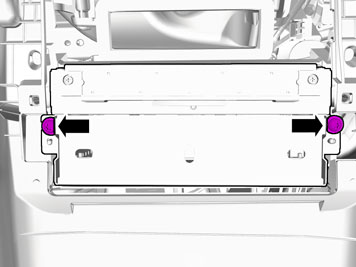
- Reinstall the screws.
- Reinstall the detached components in reverse order.
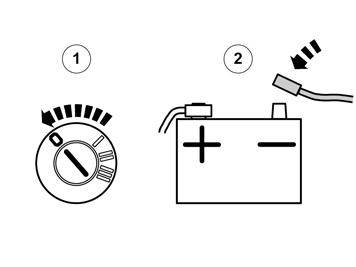
- Set the ignition key to position 0.
- Reconnect the battery negative lead
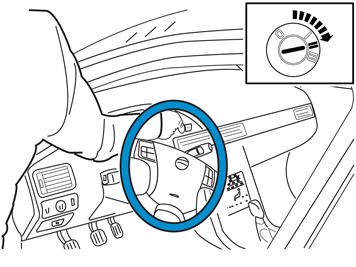
Внимание: When the ignition is to be switched on for the first time after the battery has been disconnected, this must be done whilst by standing outside the vehicle, stretching your arm in and avoiding the working area for the airbags.
- Set the ignition switch to position II.
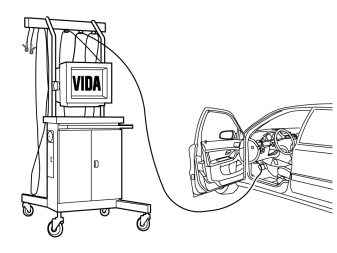
- Download the software (application) for the accessory's function following the service information in VIDA.
- See VIDA or the accessories catalogue for software part number.
Обсуждение и оценка
0Пока нет комментариев. Будьте первым.