Применимость
| Модель | Двигатель | Год |
|---|---|---|
| S40 (04-) | — | 2004 |
| V50 | — | 2004 |
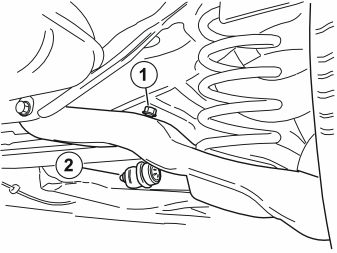
- Raise the car
- Remove the nut (1) from the ball joint for the anti-roll bar link on both the right and left-hand sides. Counterhold using a torx driver to prevent damage to the rubber boot
- Slacken off the nut (2) for the ball joint mount in the anti-roll bar on both the right and left-hand sides. Counterhold using a torx driver to prevent damage to the rubber boot
- Disconnect the link from the control arm. Twist the link downwards so that it is out of the way when the control arm is to be lowered.
Illustration A
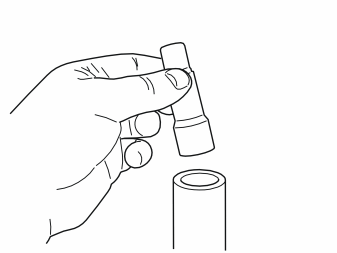
- Position sleeve P/N 9995501 in the hole in the top of the garage lift, in order to secure it to the underside of the control arm.
Illustration B
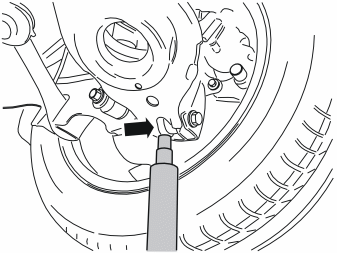
- Pump up the garage lift. Guide the top of the sleeve into the gap by the link bushing.
Illustration C
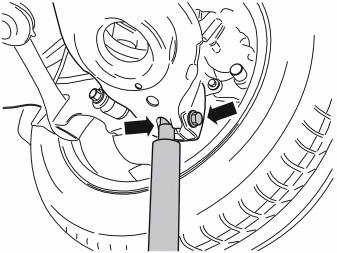
- Relieve the load on the screw joint. Remove the screw. Carefully lower the control arm until it is hanging freely
- Discard the screw. There is a new screw in the kit.
Внимание: Take care when working with tensioned springs. Follow the instructions carefully to avoid personal injury.
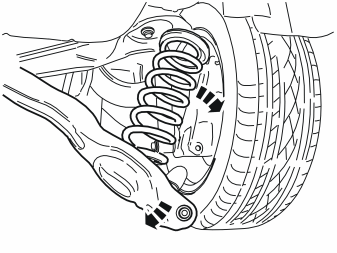
- Pull down the control arm. Then disconnect the old spring from the mountings in the bodywork/control arm. Remove the spring
- Remove the rubber liner from the old spring. The rubber liner will be used again
- Discard the spring. There is a new spring in the kit.
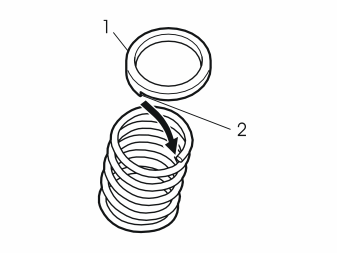
- Install the old rubber liner (1) on the new spring. Ensure that the end of the spring is correctly seated (2) in the rubber liner.
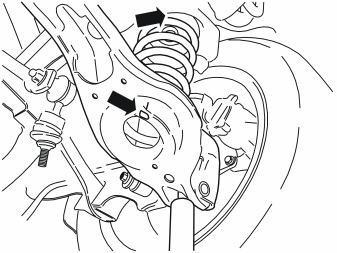
- Install the new spring in position
- Install the garage lift under the control arm again. Press the control arm carefully upwards
- Check that the spring is correctly positioned in the seat in the control arm and in the bodywork
- Press the control arm into the correct position. Install a new screw from the kit.
Примечание: Do not tighten the screw securely yet. The car must be in the normal position when the screw is tightened.
- Repeat points 2-5 for the other spring.
- Reconnect the anti-roll bar links to the control arms
- Take new nuts from the kit (all the nuts removed will be replaced)
- Tighten the nuts in the anti-roll bar links to the control arms (1). Tighten to 50 Nm (37 lbf. ft.). Use a counterhold so that the rubber boots are not damaged
- Tighten the nuts in the anti-roll bar links to the anti-roll bar (2). Tighten to 70 Nm (52 lbf. ft.). Use a counterhold so that the rubber boots are not damaged
- Lower the car completely
- Tighten the new screws in the control arms. Tighten to 115 Nm (85 lbf. ft.).