Применимость
| Модель | Двигатель | Год |
|---|---|---|
| V70 (08-) | — | 2008–2013 |
| XC70 (08-) | — | 2008–2013 |
Примечание: Some steps in these installation instructions are presented with illustration only.
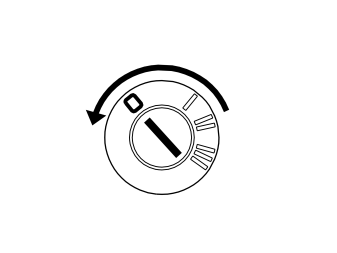
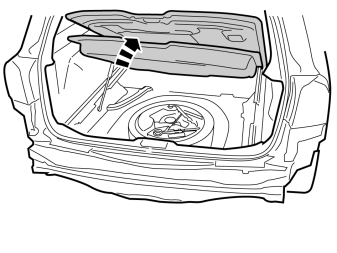
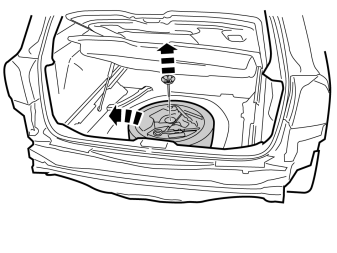
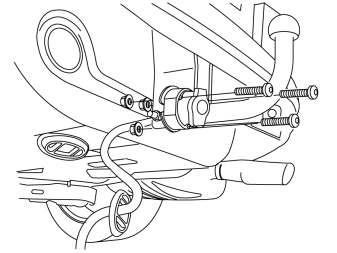
- Take three screws and nuts from the kit and install the connector in the bracket.
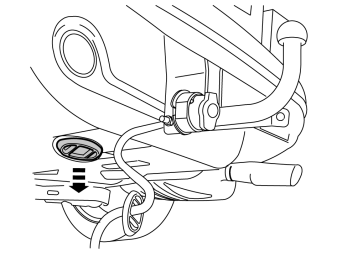
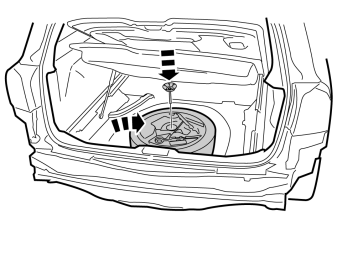
- Remove the rubber grommet in the floor and place it to one side, it shall not be used again.
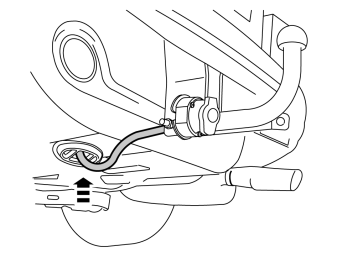
- Insert the cable with the connector into the hole in the spare wheel well and install the rubber grommet.
Примечание: Install the rubber grommet so that the cable points to the left on the inside.
- Adapt the length of the cable from the connector to the rubber grommet so that the cable is not too slack beneath the car.
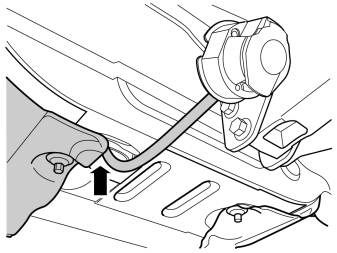
- Check that the cable does not rub against the radiated heat shield. Bend if necessary.
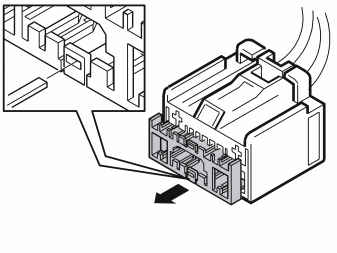
- Disconnect the secondary lock on the cable harness connector by carefully prying the catch down and moving the catch forwards.
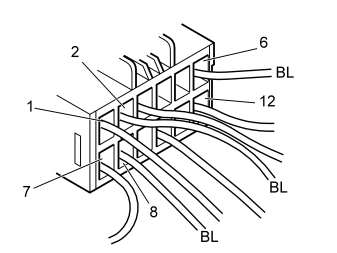
- Connect the cable harness' blue (BL) loose cable to one of the connector's positions 2, 6 or 8 depending on the function required:
Position - Cable - Function
- 1 - Green (GN) - Right-hand indicator lamp
- 2 - Blue (BL) - Charging
- 3 - Red (R) - Left-hand brake lamp
- 6 - Blue (BL)- Reversing lamp
- 7 - Red (R) - Right-hand brake lamp
- 8 - Blue (BL) - Fog lamps
- 10 - Yellow (Y) - Left-hand indicator lamp
- 12 - Brown (BN) - Running lamps
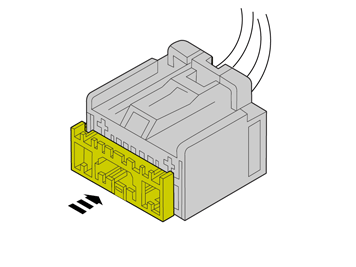
- Press the secondary catch into the connector.
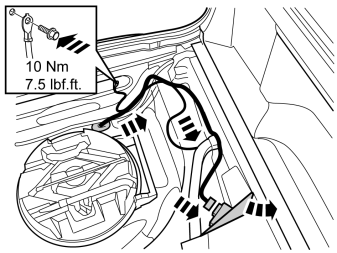
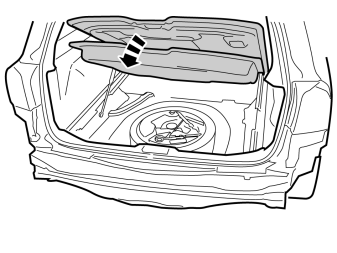
- Fold the insulation on the left-hand side at the front of the cargo compartment to one side.
- Route the cable from the rubber lead-in and along the existing cable harnesses up to the trailer module (TRM) at the front edge of the left-had side of the cargo compartment.
- Connect the grey connector to the control module.
- Take the ground terminal from the kit and secure the ground lead to the ground terminal on the left-hand side at the rear member. Torque tighten the screw, tightening torque 10 Nm (7.5 lbf.ft.).
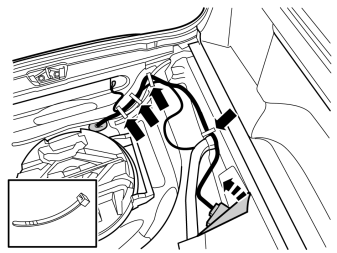
- Secure the cable to the control module and the ground lead excess at the thick cable harness and cable duct. Use cable ties from the kit.
- Fold the insulation panel back over the control module.
Checking the 7-pin connector
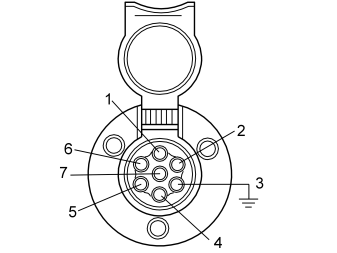
Примечание: The trailer module (TRM) must be programmed with software in order to function correctly.
Position - Function
- 1 - Left indicator lamps
- 2 - Rear fog lamp/Charge lamp/Reversing lamp
- 3 - Ground
- 4 -Right indicator lamps
- 5 - Right rear running lamp
- 6 - Brake lamp
- 7 - Left rear running lamp
Обсуждение и оценка
0Пока нет комментариев. Будьте первым.