Применимость
| Модель | Двигатель | Год |
|---|---|---|
| S60 (11-) | — | 2011–2013 |
| V60 | — | 2011–2013 |
Work is carried out in the same way on left and right-hand drive vehicles.
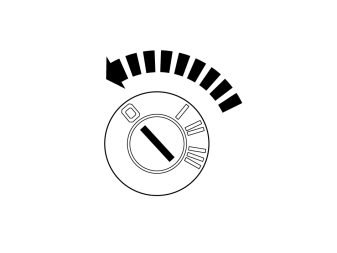
- Turn the ignition key to position 0.
Примечание: Wait at least three minutes before unplugging the connectors or removing other electrical equipment.
Applies to vehicles where LEDs are to be replaced
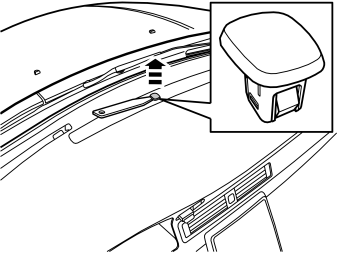
- Carefully bend loose the diode/sensor in the instrument panel.
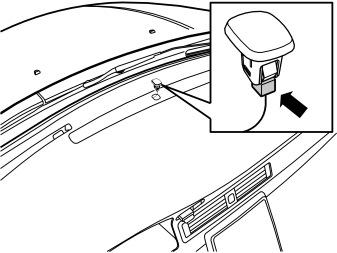
- Unplug the connector from the LED and move aside.
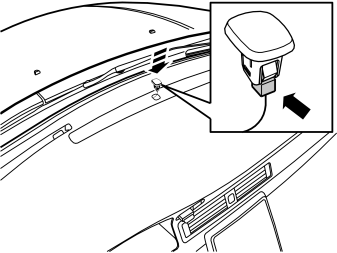
- Get the new LED. Connect it to the connector and install it by pressing it in the instrument panel.
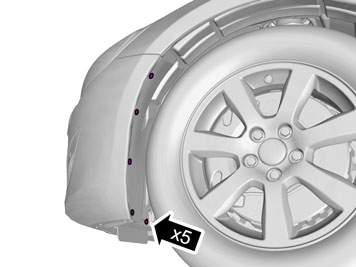
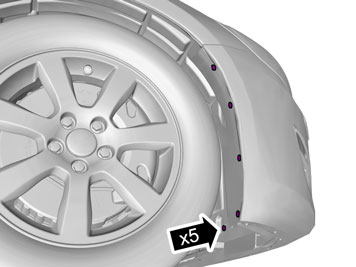
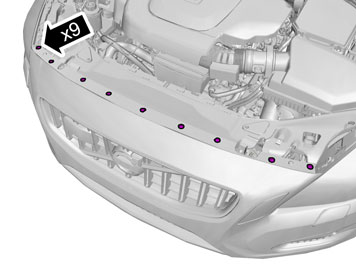
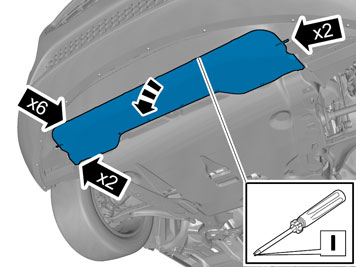
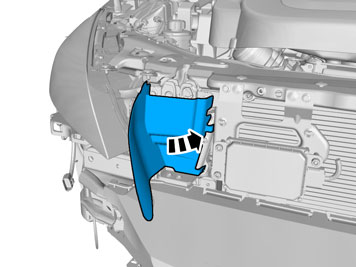
- Remove air baffle.
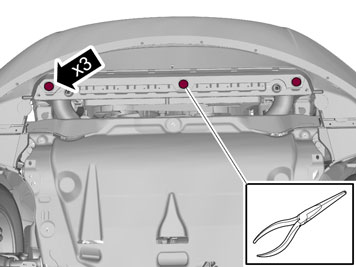
- Remove the clips.
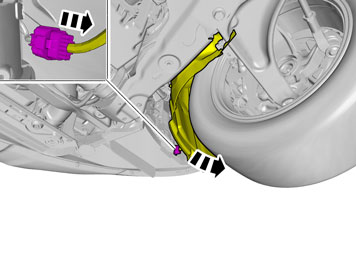
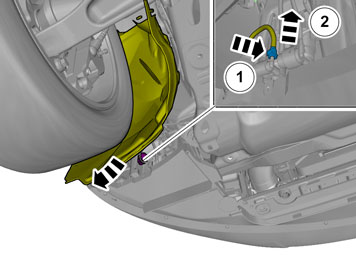
- Disconnect the washer hose.
- Take a piece of wiper hose. Tie a knot in it and install on the washer pump to prevent the washer fluid container from emptying.
Illustrations A and B
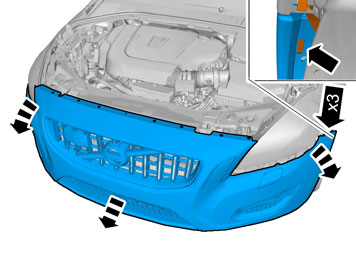
Примечание: Get help from a colleague for this procedure.
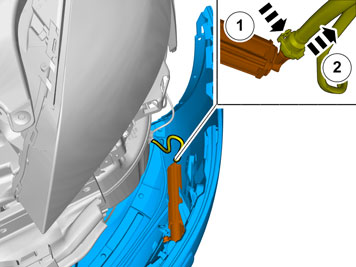
- Disconnect the washer hose.
- Tape the hose high up on the washer fluid container to prevent washer fluid from running out.
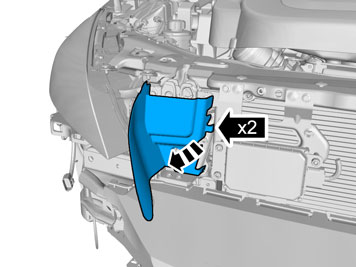
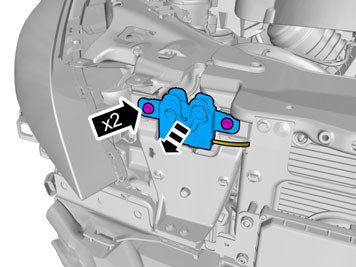
Примечание: The bonnet lock on the car's right side must be replaced with a new one from the kit. This applies to both right-hand and left-hand drive vehicles. The marking is found on both sides of the bonnet lock for right-hand and left-hand drive vehicles. Marking for relevant car model must be turned outwards.
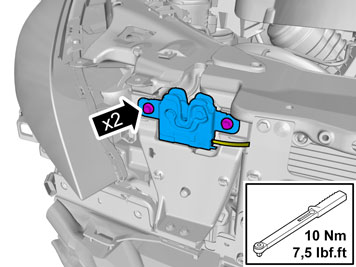
- Remove the screws in the hood lock and pull forwards.
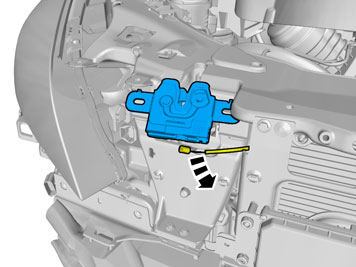
- Disconnect the bonnet lock cable.
- Place the bonnet lock to one side. A new one can be found in the kit.
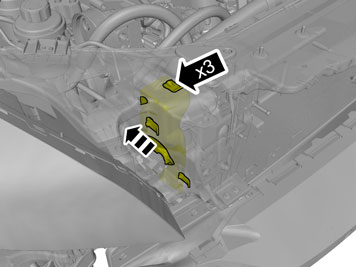
- Release the cradle and pull it back to make room for the bonnet lock cable.
Image A, B, C, D and E
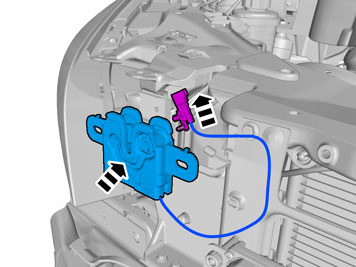
- Take a new bonnet lock from the kit.
- Insert the cable as illustrated and route it to the newly detached cradle on the left-hand side of the headlamp.
- Press the connector into the existing hole.
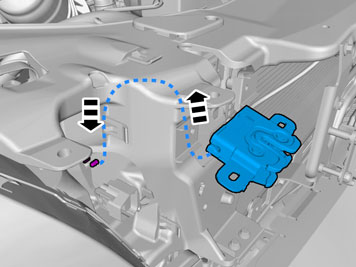
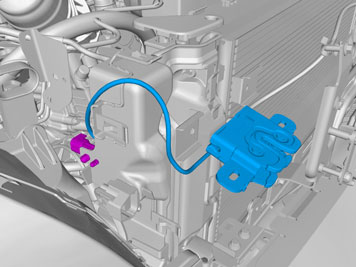
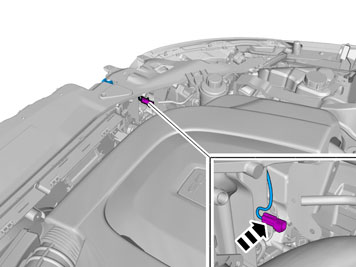
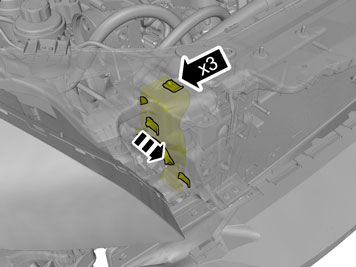
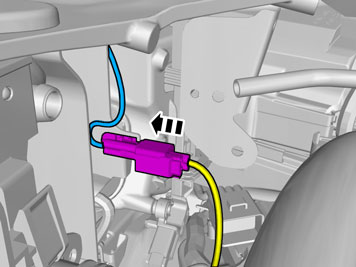
- Connect the pre-routed connector to the routed cable. Found in the connection to the location.
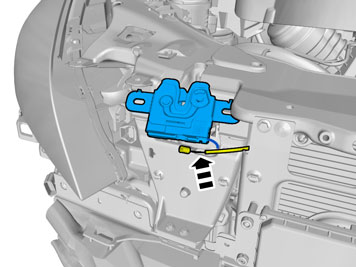
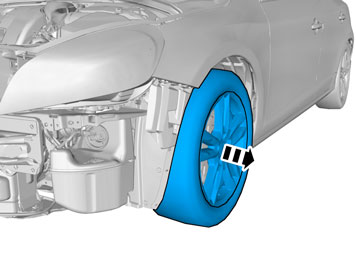
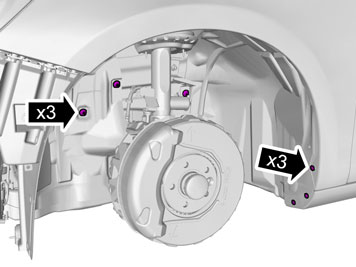
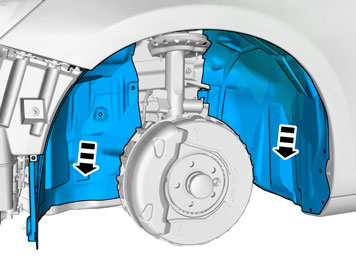
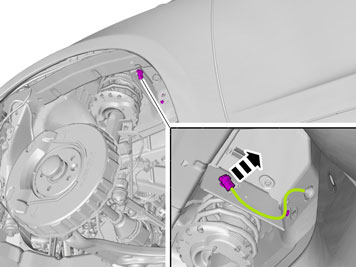
- Disconnect the connector from its cradle.
- Remove the cradle with clips, they will not be reused.
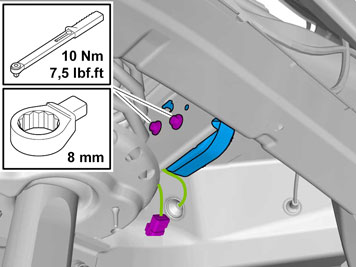
- Install the bracket with siren.
- Tighten and torque tighten.
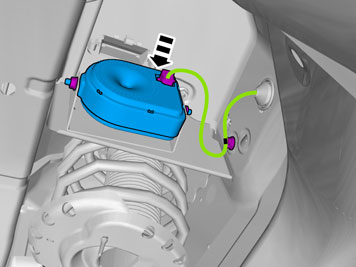
- Connect the siren.
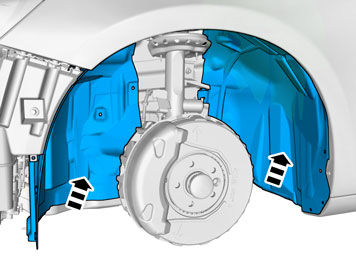
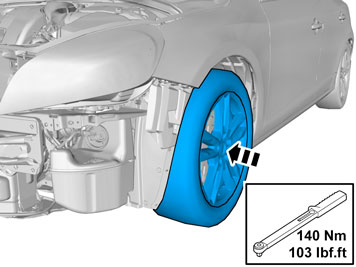
Illustrations A and B
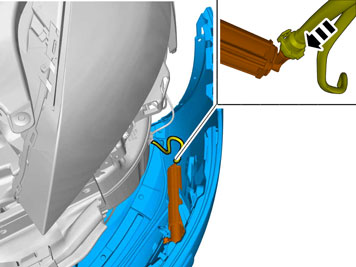
Примечание: Get help from a colleague for this procedure.
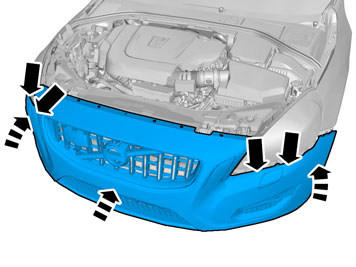
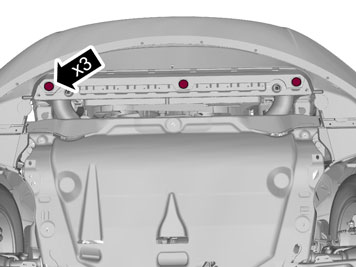
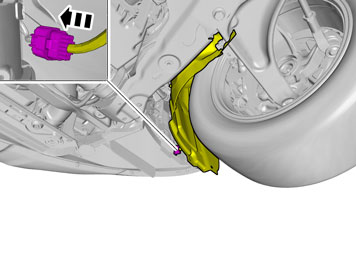
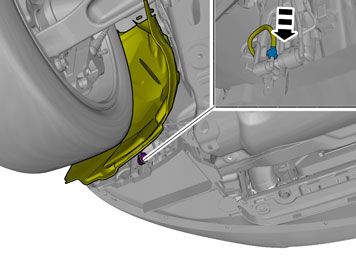
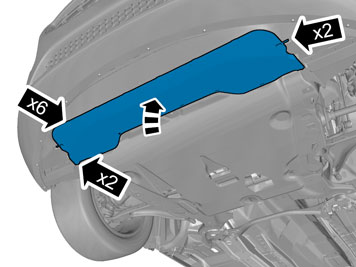
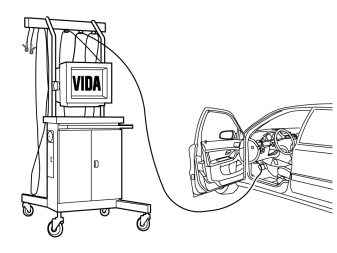
- Download software (application) for the accessory's function according to service information in VIDA. See VIDA or accessories catalogue for article number on software.
Обсуждение и оценка
0Пока нет комментариев. Будьте первым.