Применимость
| Модель | Двигатель | Год |
|---|---|---|
| XC60 | — | 2010–2015A |
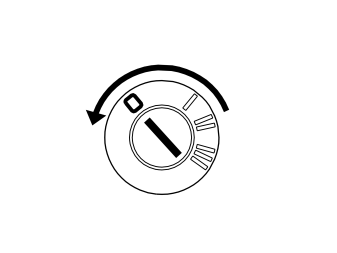
- Set the ignition to position 0.
Applies to cars where LEDs are to be replaced.
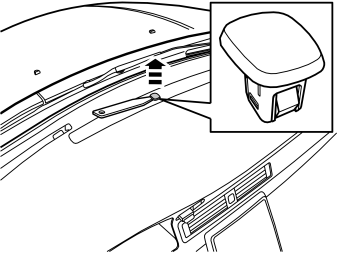
- Carefully bend loose the diode/sensor in the instrument panel.
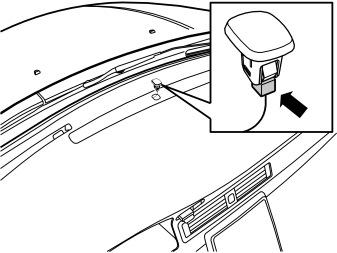
- Unplug the connector from the LED and move aside.
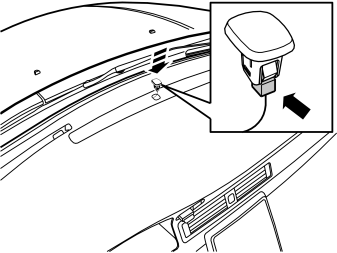
- Get the new LED. Connect it to the connector and install it by pressing it in the instrument panel.
Installing the new hood lock
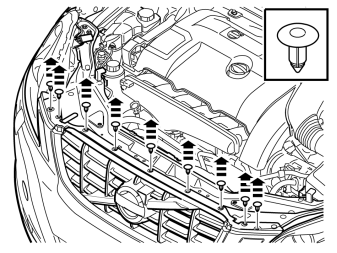
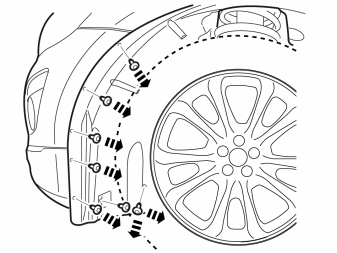
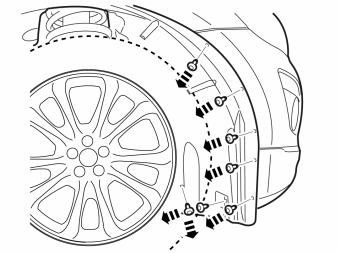
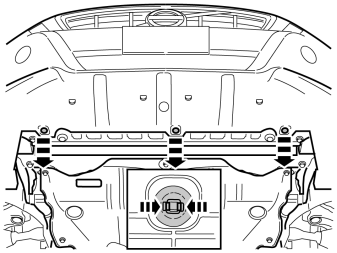
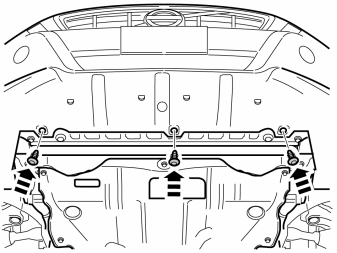
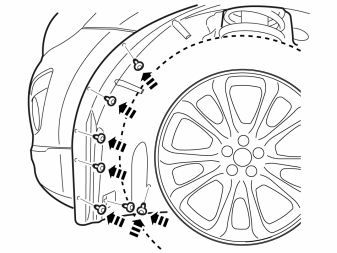
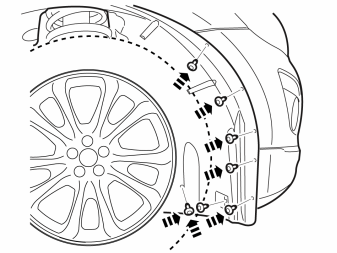
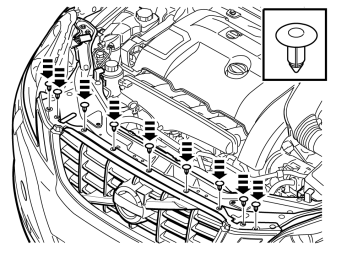
- Remove the three clips by pressing together the fasteners and pulling them away.
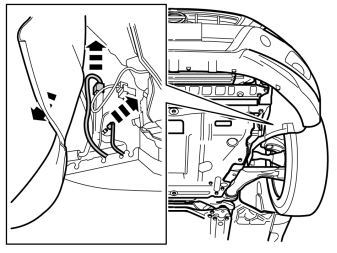
Подсказка: Take a piece of wiper hose. Tie a knot on it and install on the wiper pump to avoid spillage when the hose is removed.
- Fold back the wing liner.
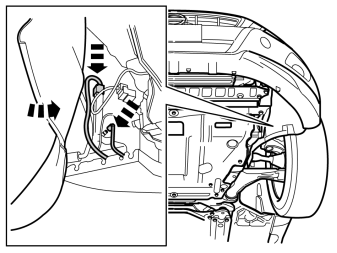
- Loosen the connector and wiper hose to the headlight's high pressure washer.
- Seal off the outlet on the wiper pump.
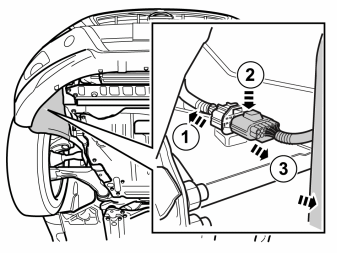
- Fold back the wing liner.
- Loosen the connector on the inside of the air guide.
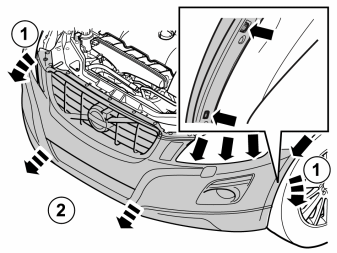
Подсказка: Get help from a colleague for this procedure.
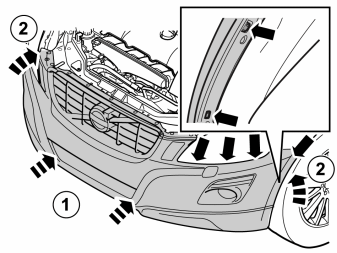
- Unhook the rear edge of the bumper casing end from the catches on both sides (inset illustration).
- Carefully remove the ends. They are located using two clips by the front wing and three under the headlights.
- Pull loose the bumper cover forward in one piece.
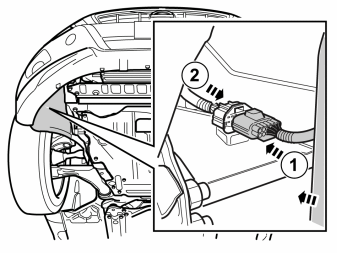
- Disconnect the connectors for the fog lamps, if installed.
- Remove the bumper cover.
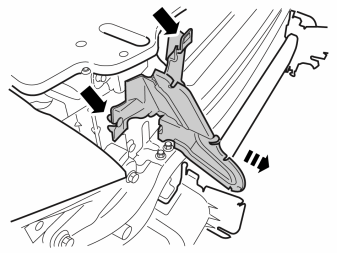
- Remove the sealing panel, it is fastened by one clip on the right-hand side and a catch on the top edge.
Примечание: The hood lock on the right-hand side of the car is to be replaced with a new lock from the kit. This applies to both left-hand and right-hand drive cars. Markings are on both sides of the hood lock for left-hand and right-hand drive cars. The marking for the car model in question should face outwards.
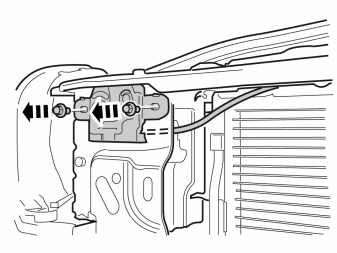
- Remove the screws in the hood lock and pull forwards.
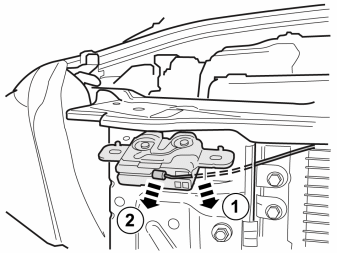
- Loosen the wire from the hood lock and put to one side.
Illustrations A and B
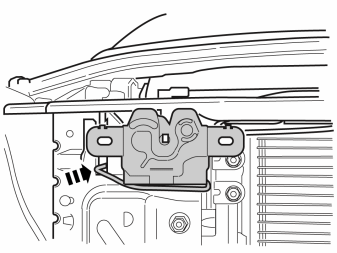
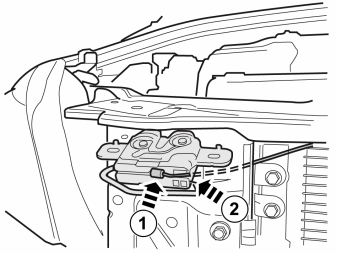
- Take the new hood lock from the kitInsert the lead with the connector between the soft panel and the headlight's bracket. Pull it in to the trailing edge of the headlight bracket. Route the lead in all the way to the holes for the connector's attachment. The panel must be bent slightly to get through the connector. Carefully press through the connector with a small screwdriver.
Примечание: Take care of the two leads.
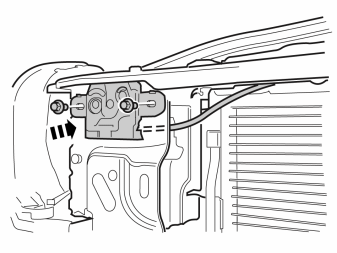
- Bolt on the hood lock loosely with existing screws.
- Align the hood lock sideways using the hood's lock brace.
- Torque the nuts for the hood lock with 10 Nm (7.5 Lbf.ft.).
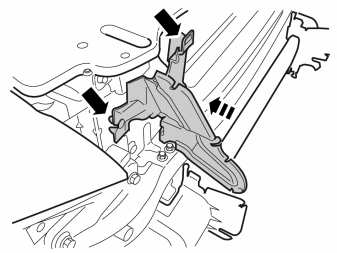
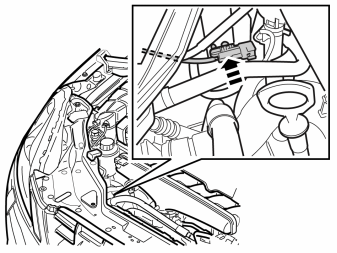
- Route the lead from the hood lock.
- Press the connector with holder into the holes in the plate against the headlight.
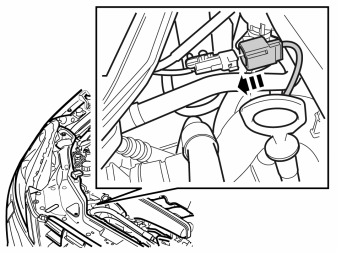
- Connect the 2-way connector, on the heavy cable harness behind the headlight, to the routed lead.
Installing the siren
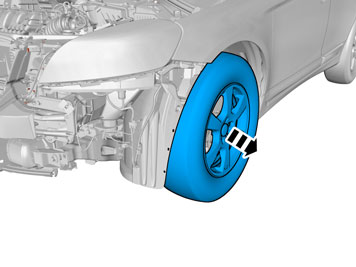
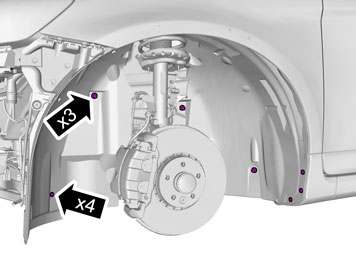
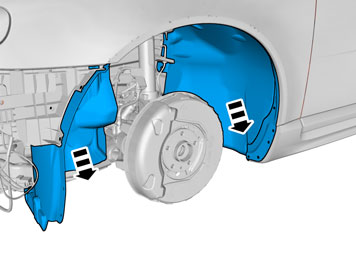
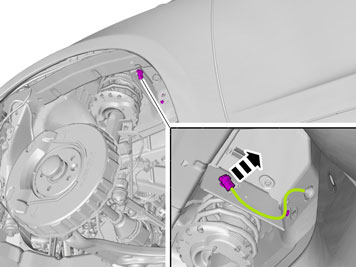
- Disconnect the connector from its cradle.
- Remove the cradle with clips, they will not be reused.
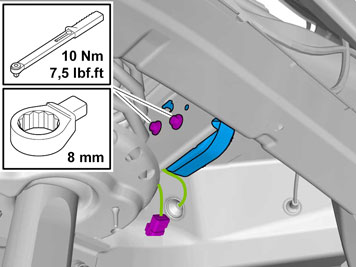
- Install the bracket with siren.
- Tighten and torque tighten.Use tool, P/N 9814114.
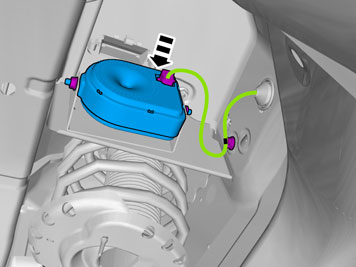
- Connect the siren.
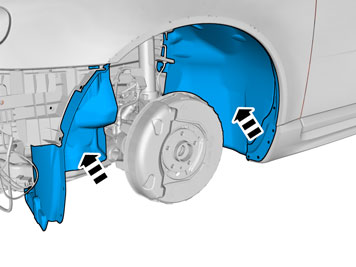
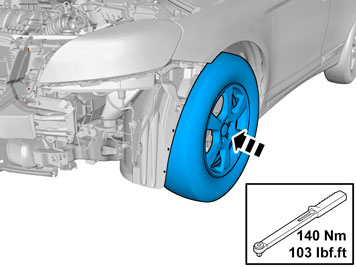
Supplementary work
-
Подсказка: > Get help from a colleague for this procedure.
Connect the connectors for the fog lamps, if installed.
- Reinstall the bumper cover and make sure that all catches engage.
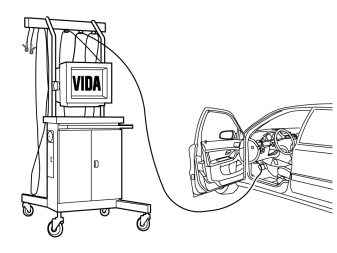
- Download software for the accessory's function according to service information in VIDA. See VIDA or accessories catalogue for article number on software.